Create an Image Slider Using JavaScript in Interview is a most frequently asked question by Interviewer in Frontend or Full-Stack Interview coding round. Interviewers use this problem to evaluate your understanding of HTML structure, CSS positioning, JavaScript DOM manipulation, events, and browser behavior.
In this resource , we’ll build a Image Slider or Carousel from scratch using HTML, CSS , and JavaScript without using any Library. Along with a beginner friendly explanation for Interview Preparation. We’ll use codesandbox JavaScript Environment to build it.
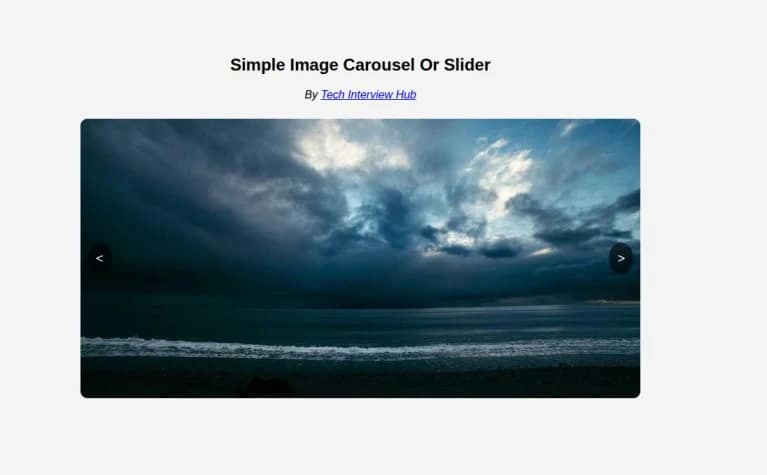
Video Preview of Image slider:
Let’s Focus on Coding to build Image Slider
We’ll explain it in three parts, HTML , CSS and JavaScript section.
1. HTML Structure for Image Slider:
 <div class="tech-slider">
      <div class="tech-slides">
        <img src="https://picsum.photos/id/1015/800/400" class="slide active"/>
        <img src="https://picsum.photos/id/1016/800/400" class="slide"/>
        <img src="https://picsum.photos/id/1019/800/400" class="slide"/>
      </div>
      <button id="prev"> < </button>
      <button id="next"> > </button>
    </div>
Explanations:
We have added tech-slideras a Main container, within this we’ll add all slides and it’ll used for positioning prev/next buttons)- tech-
slidesclass div wrapped all images use in slider. slideclass add to categorise each slide.activeclass will Controls which slide is visible.prev/nextbuttons are Navigation controls.
2. CSS styling to positioning slider & Layout:
.tech-slider {
  position: relative;
  width: 800px;
  max-width: 90%;
  overflow: hidden;
  border-radius: 10px;
}- position: relative is responsible to position action button (prev/next) inside.
- set a width 800px of the slider container.
- set max-width 90%
- overflow: hidden is responsible to hide non active slides
.tech-slides {
  display: flex;
}

.slide {
  width: 100%;
  transition: opacity 0.5s ease-in-out;
  display: none; /* Hide all slides by default */
}

.slide.active {
  display: block;  /* Show only active slide */
}- align all slides row wise by set proper display: flex to tech-slides.
- display: none is responsible for Hide all slide by default .
- only active class image slide will be visible.
/* Buttons */
#prev,
#next {
  position: absolute;
  top: 50%;
  transform: translateY(-50%);
  background: rgba(0, 0, 0, 0.6);
  color: #fff;
  border: none;
  padding: 12px;
  cursor: pointer;
  font-size: 18px;
  border-radius: 50%;
}

#prev {
  left: 10px;
}
#next {
  right: 10px;
}

#prev:hover,
#next:hover {
  background: rgba(0, 0, 0, 0.8);
}
- transform: translateY(-50%); use for perfect vertical centering.
- When we hover on button a pointer icon will display and it’ll give you a feel like clickable item. cursor: pointer;
- position:absolute , left, and right property used to positioned button in proper place.
- added some hover background effect also on button
JavaScript Logic to create an Image slider
This is most important bascally Interviewer wants to know How is your JavaScript skils by giving you this question. In this question CSS is important but How slider will work on clicking on Prev or next button, How auto slider will work, when we click on button auto slider should be off?
Everything you will learn in this Tutorial. Let’s start JavaScript coding,
const slider = document.querySelector(".tech-slider");
const slides = document.querySelectorAll(".slide");- declare slider variable to store main slider container element.
- declare slides variable to store all slides, In our case it’ll be an three slide elements Array.
const nextBtn = document.getElementById("next");
const prevBtn = document.getElementById("prev");

let currentIndex = 0;
let autoSlideInterval;- Declare nextBtn and prevBtn variables to store both action button element. So that, we can use it for click event listener.
- currentIndex variable will be use to track current visible slide.
- autoSlideInterval variable represent auto slide timer. This variable stores the ID returned by
setInterval().
/**
 * Show slide
 */

const showSlide = (index) => {
  slides.forEach((slide) => slide.classList.remove("active"));
  slides[index].classList.add("active");
};- Defined a function showSlide , it’ll take a parameter index.
- Iterate all slide and remove active class from the current visible slide element.
- Add active class to specific index slide element.
/**
 * Next slide
 */
const nextSlide = () => {
  currentIndex = ++currentIndex % slides.length;

  showSlide(currentIndex);
};

/**
 * Prev slide
 */
const prevSlide = () => {
  currentIndex = (--currentIndex + slides.length) % slides.length;

  showSlide(currentIndex);
};

/**
 * Event Listener
 */
nextBtn.addEventListener("click", nextSlide);
prevBtn.addEventListener("click", prevSlide);
- We have defined two function nextSlide() and prevSlide().
- When a user click on Next arrow element , nextSlide function will call. It’ll increment currentIndex value and mod ( % ) by slides.length ( In our case it is 3 ). To avoid logic errors, we use this trick so that we always get a remainder value. This ensures the
currentIndexnever exceeds the total number of slides. - We have used same logic for previous arrow clicking function.
/**
 * Auto slide
 */
const autoSlide = () => {
  autoSlideInterval = setInterval(nextSlide, 2500);
};

/**
 * Stop auto slide
 */

const stopSlide = () => {
  clearInterval(autoSlideInterval);
};

slider.addEventListener("mouseenter", stopSlide);
slider.addEventListener("mouseleave", stopSlide);

showSlide(currentIndex);
autoSlide();- We have defined a Function autoSlide() so that sliders start sliding automatically after some frequent Interval.
- So, It’ll auto slide in 2.5 seconds . Use setInterval() function ( The setInterval() method in JavaScript is a built-in function that repeatedly executes a specified function or code snippet at a fixed time delay between each call )
- To clear current Interval , we have defined stopSlide() function. it’ll call when user enter or leve mouse on main slider container.
Live Demo and Full Source code:
We have used the CodeSandbox JavaScript environment to build this Image Slider.
You can visit the public live URL below to check the working demo and explore the complete source code.
Explore More Interview Resources
If you are preparing for interviews, you can explore more Frontend & JavaScript interview questions and technical blogs from the links below:
Conclusion:-
In this Tutorial, we built an Image Slider / Carousel using HTML, CSS, and JavaScript with a clear focus on interview concepts.
We explained the logic using simple English and beginner-friendly terms, covering:
- Auto slide functionality
- Next and previous slide navigation
- Index handling to avoid logic errors
If you understand how the auto slide, next/prev navigation, and scrolling logic work, then this tutorial has successfully strengthened your Frontend interview preparation.
Thank you for reading.

![Top CSS Interview Questions and Answers [Latest & Most Asked]](https://mlegnhsg05mg.i.optimole.com/cb:ir3L.9a8/w:1024/h:684/q:mauto/f:best/https://techinterviewhub.in/wp-content/uploads/2025/02/pexels-kampus-8439764-scaled.jpg)